Introduction: Why Technique Matters
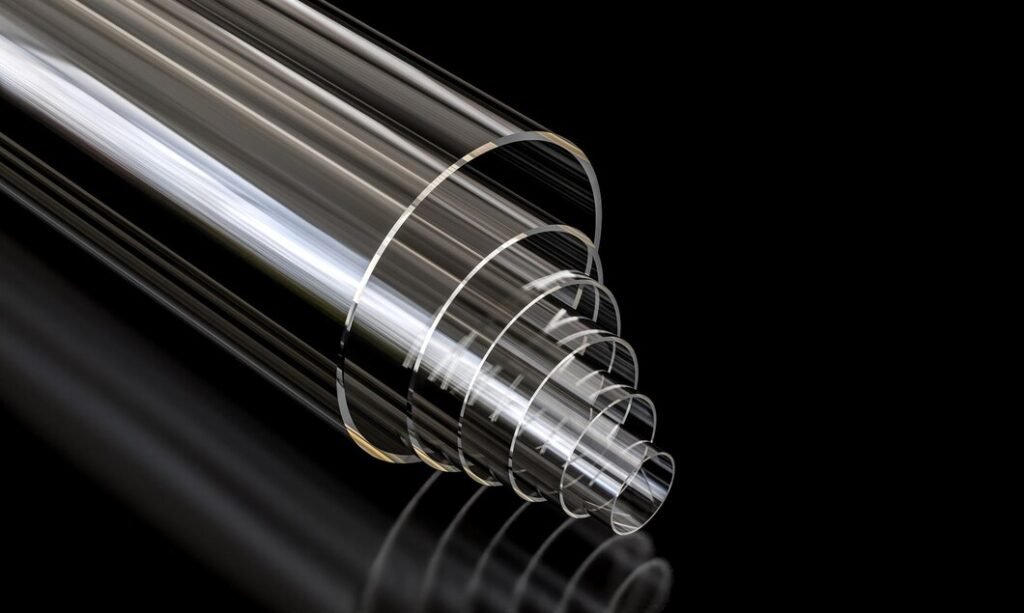
Acrylic pipes are durable, visually appealing, and used across multiple industries. But to get the best performance, correct handling during fabrication is crucial.
Improper cutting or bending can cause cracks, cloudiness, or leaksImproper cutting or bending can cause cracks, cloudiness, or leaks. This guide will walk you through safe, professional techniques for:
- Cutting acrylic pipes
- Bending without cracking
- Joining and bonding pipes securely
1. How to Cut Acrylic Pipes
Tools You Can Use:
- Fine-toothed hacksaw
- Table saw with acrylic blade
- Rotary cutting tool (like Dremel)
- Laser cutter (for advanced use)
Steps:
- Measure and mark the cut line with a non-permanent marker.
- Secure the pipe using a clamp to avoid vibrations.
- Use slow, steady pressure—don’t rush.
- After cutting, polish the edges using fine-grit sandpaper or a flame polisher.
Pro Tip: Always wear protective goggles and gloves when cutting.
2. How to Bend Acrylic Pipes
Tools You’ll Need:
- Heat gun or strip heater
- Pipe bending spring (for even curve)
- Clamps and supports
Steps:
- Mark the bend point and clamp the pipe securely.
- Heat the section evenly using a heat gun (don’t overheat one spot).
- Once flexible, bend slowly around a form or mandrel.
- Let it cool in place to maintain shape.
Caution: Don’t bend cold acrylic—it will crack. And avoid overheating, which can cause bubbles or discoloration.
3. How to Join Acrylic Pipes
Best Joining Methods:
- Solvent bonding (most common)
- Adhesive gluing (for special applications)
- Mechanical fittings (temporary or modular setups)
Steps for Solvent Bonding:
- Clean both surfaces with isopropyl alcohol.
- Apply a thin layer of acrylic solvent cement (e.g., Weld-On 4) along the joining surface.
- Push parts together firmly but gently.
- Hold in place with clamps for 10–15 minutes.
- Cure fully (24–48 hours) before pressure use.
Pro Tip: Work in a ventilated area when using solvent cement.
Maintenance Tip:
After fabrication, always clean acrylic pipes using non-abrasive cloths and mild soap. Avoid alcohol- or ammonia-based cleaners to prevent cloudiness.
Common Mistakes to Avoid:
| Mistake | Consequence |
|---|---|
| Cutting too fast | Cracked or jagged edges |
| Heating one spot too long | Bubbles, discoloration, deformation |
| Using the wrong glue | Weak bond or permanent haziness |
| Using dirty joining surfaces | Poor adhesion and leaks |
Conclusion: Handle Acrylic Like a Pro
With the right tools and precautions, acrylic pipes are easy to fabricate—whether you’re installing a custom aquarium system, lab setup, or food-grade line.
Follow these safe practices and your acrylic pipes will deliver reliable performance and visual clarity for years to come.

Need Pre-Cut or Fabricated Acrylic Pipes?
Skip the DIY hassle—we deliver custom-sized, ready-to-install acrylic pipes for industrial and commercial needs.


